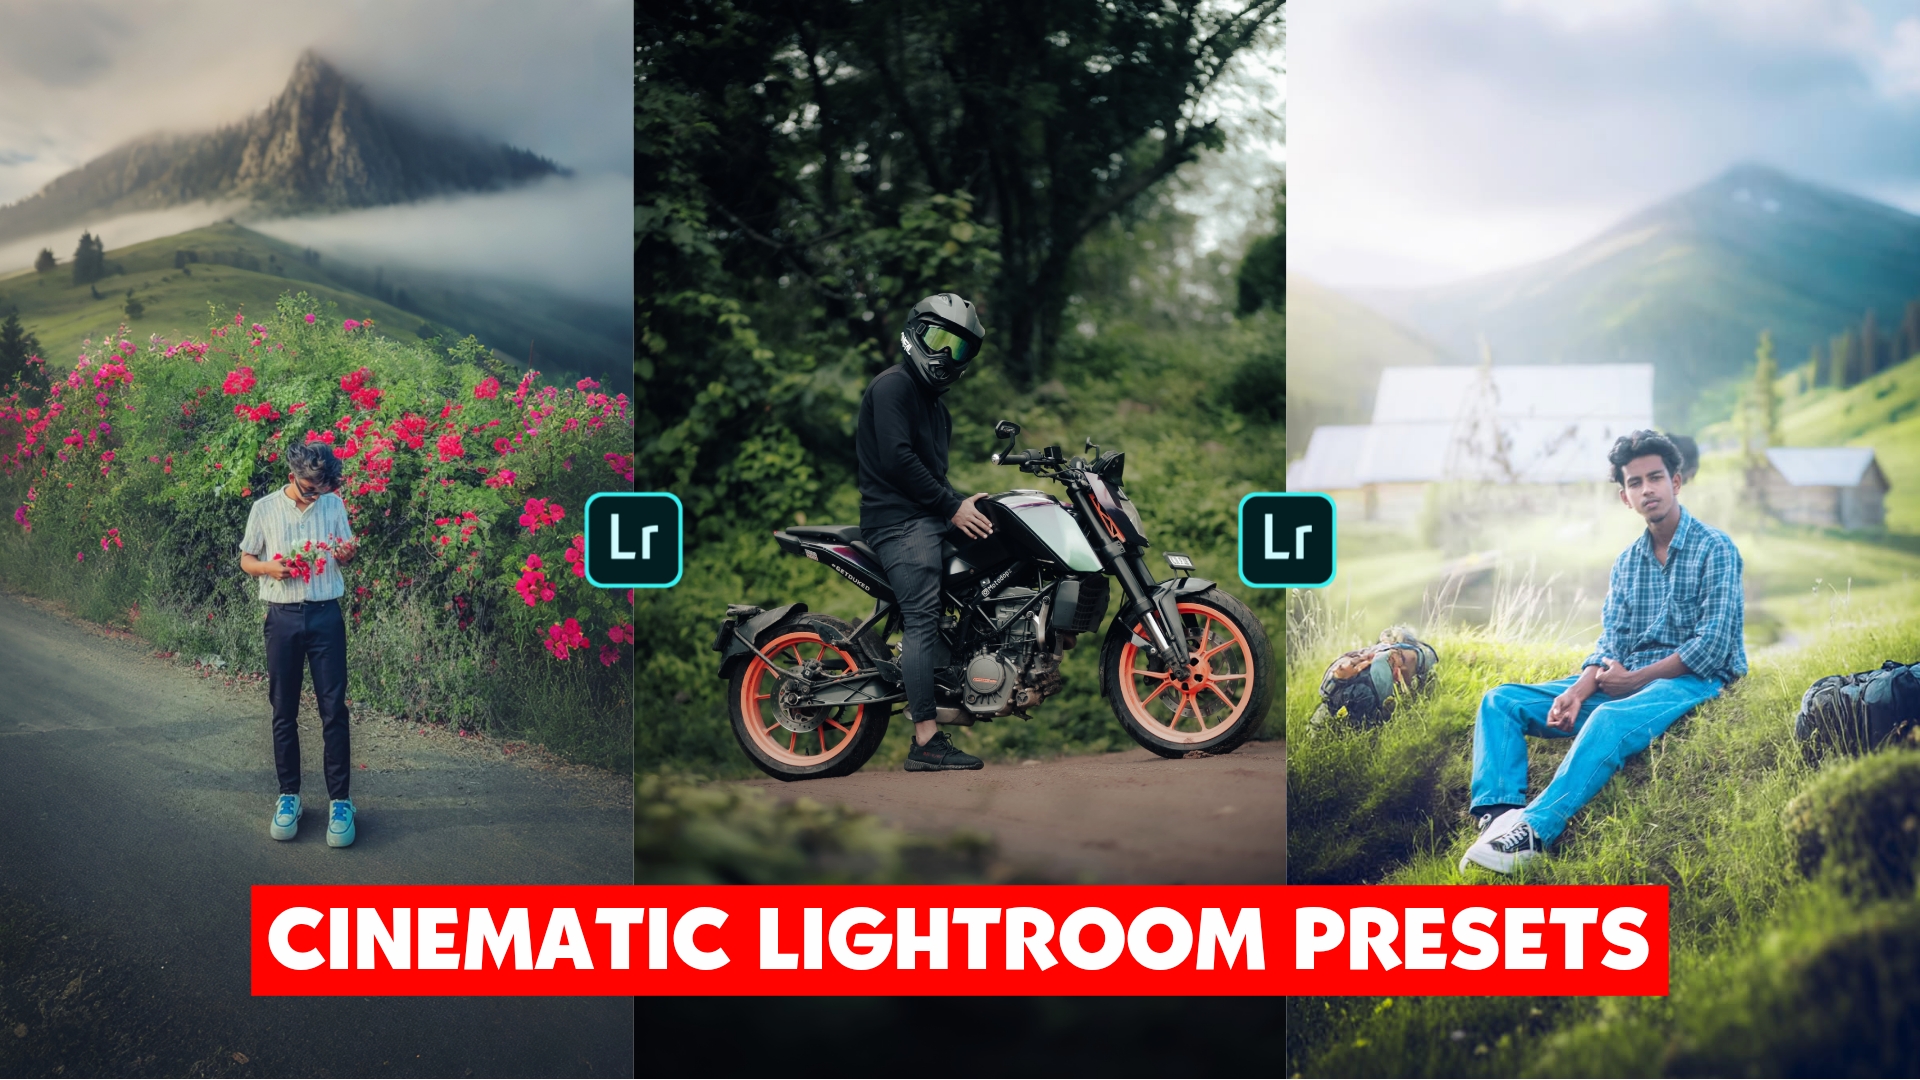
Lightroom Cinematic Presets 2025-Hello everyone, Ishan here, and welcome to Ishan Tech Zone. When we travel, we often capture moments through photographs, but sometimes these images can appear washed out or lack vibrancy, resulting in unsatisfactory visuals. In today’s article, I will guide you on transforming an ordinary photo into a professional-looking one. While there are various color grading techniques available, we will focus specifically on applying cinematic colors using Lightroom’s masking tools. Please follow the steps outlined below to enhance your editing skills.
Lightroom Cinematic Presets 2025
LIGHTROOM 3 TIPS & TRICKS
Enhance your visual presentation with these five effective masking techniques, designed to elevate your images and provide a professional touch. Mastering these five tips for Lightroom’s masking tools will enable you to edit photos with a high level of expertise.
1. BACKGROUND FOG EFFECT
To achieve a more subdued image, the colors can be slightly desaturated. Implementing a background blur using the Blur filter enhances the focus on the subject. Adjustments can be made by applying a mask to the subject and foreground, primarily to increase brightness in the foreground. Utilizing a linear filter while excluding the subject allows for the addition of haze through the Dehaze slider, particularly around the feet of the subject. Finally, applying additional refinements will help attain the desired outcome.
2. ALTER THE BACKGROUND
To achieve a hazy background effect, begin by choosing the subject and then inverting the selection to mask the background. Introduce a haze while minimizing details to enhance the focus on the subject. Incorporate cooler tones into the background for added depth. Additionally, apply a linear gradient filter at the bottom to darken that area, and use a radial filter to create a bright light spot at the top, contributing to the overall hazy appearance of the image.
3. LANDSCAPE SUN BEAMS
To give this image a dramatic landscape vibe, start by applying an inverted radial filter for a vignette effect, then add another to enhance the brighter areas. Use an oval-shaped radial filter to mimic sunrays hitting the monastery. After tweaking the colors, place a radial filter on the horizon for that striking evening light. A linear filter can darken the bottom, making the center of the image stand out even more. With some color grading, the final result is fantastic.
Edit With Lightroom Cinematic Presets 2025
You can either tweak your photo yourself or just use my presets for a quick edit. If you prefer the manual route, check out my YouTube channel for a tutorial.
1. To get started, download my presets first.
2. Then, import both the preset and your raw photo into the Lightroom app.
3. Next, copy the preset settings and apply them to your photo.
4. Keep in mind that your image will look different from mine, so make some adjustments to get it just right, and you’ll have your finished photo in no time.
It is clear that you are familiar with photo editing and utilizing my presets. I have shared additional articles on this topic that you may find helpful. Thank you for reading this article to the end.

[…] LIGHTROOM PRESETS […]
Photo editing app sahiye download